Home Tour and Updates - Part 4 - Guest Bathroom DIY Makeover
Hello dear friends,
Holy smokes this month is flying by. I’ve attempted to write this post for 17 days since I started it and time has gotten away coupled with a very busy social schedule, getting sick, and travel. Hooray! Happy holidays!
I’ll dive right in to this post because it is specifically about my guest bathroom DIY “remodel” (using that word loosely)…it’s more of a makeover / update.
If you missed the home tour posts or DIY projects of the previous home(s) then click here.
You can pin this to Pinterest to save it for later or to share.
Let’s get started.
Welcome (back) to my home!

UPSTAIRS GUEST BATHROOM BEFORE:
The first photo is the listing photo and then how I “decorated it” after I moved in but before updating anything.


UPSTAIRS GUEST BATHROOM ISSUES:
Lord have mercy. Thankfully I didn’t think too much about this bathroom EXCEPT every time I used it when I ran long distances and would hop off of the treadmill to dash into there. That was the only time I was ever in there to actually notice how fowl this bathroom was. HOW DID I NOT NOTICE THESE ISSUES WHEN I BOUGHT THIS HOUSE? I digress…it is what it is and was what it was. As time progressed I started noticing more and more things I needed/wanted to update.
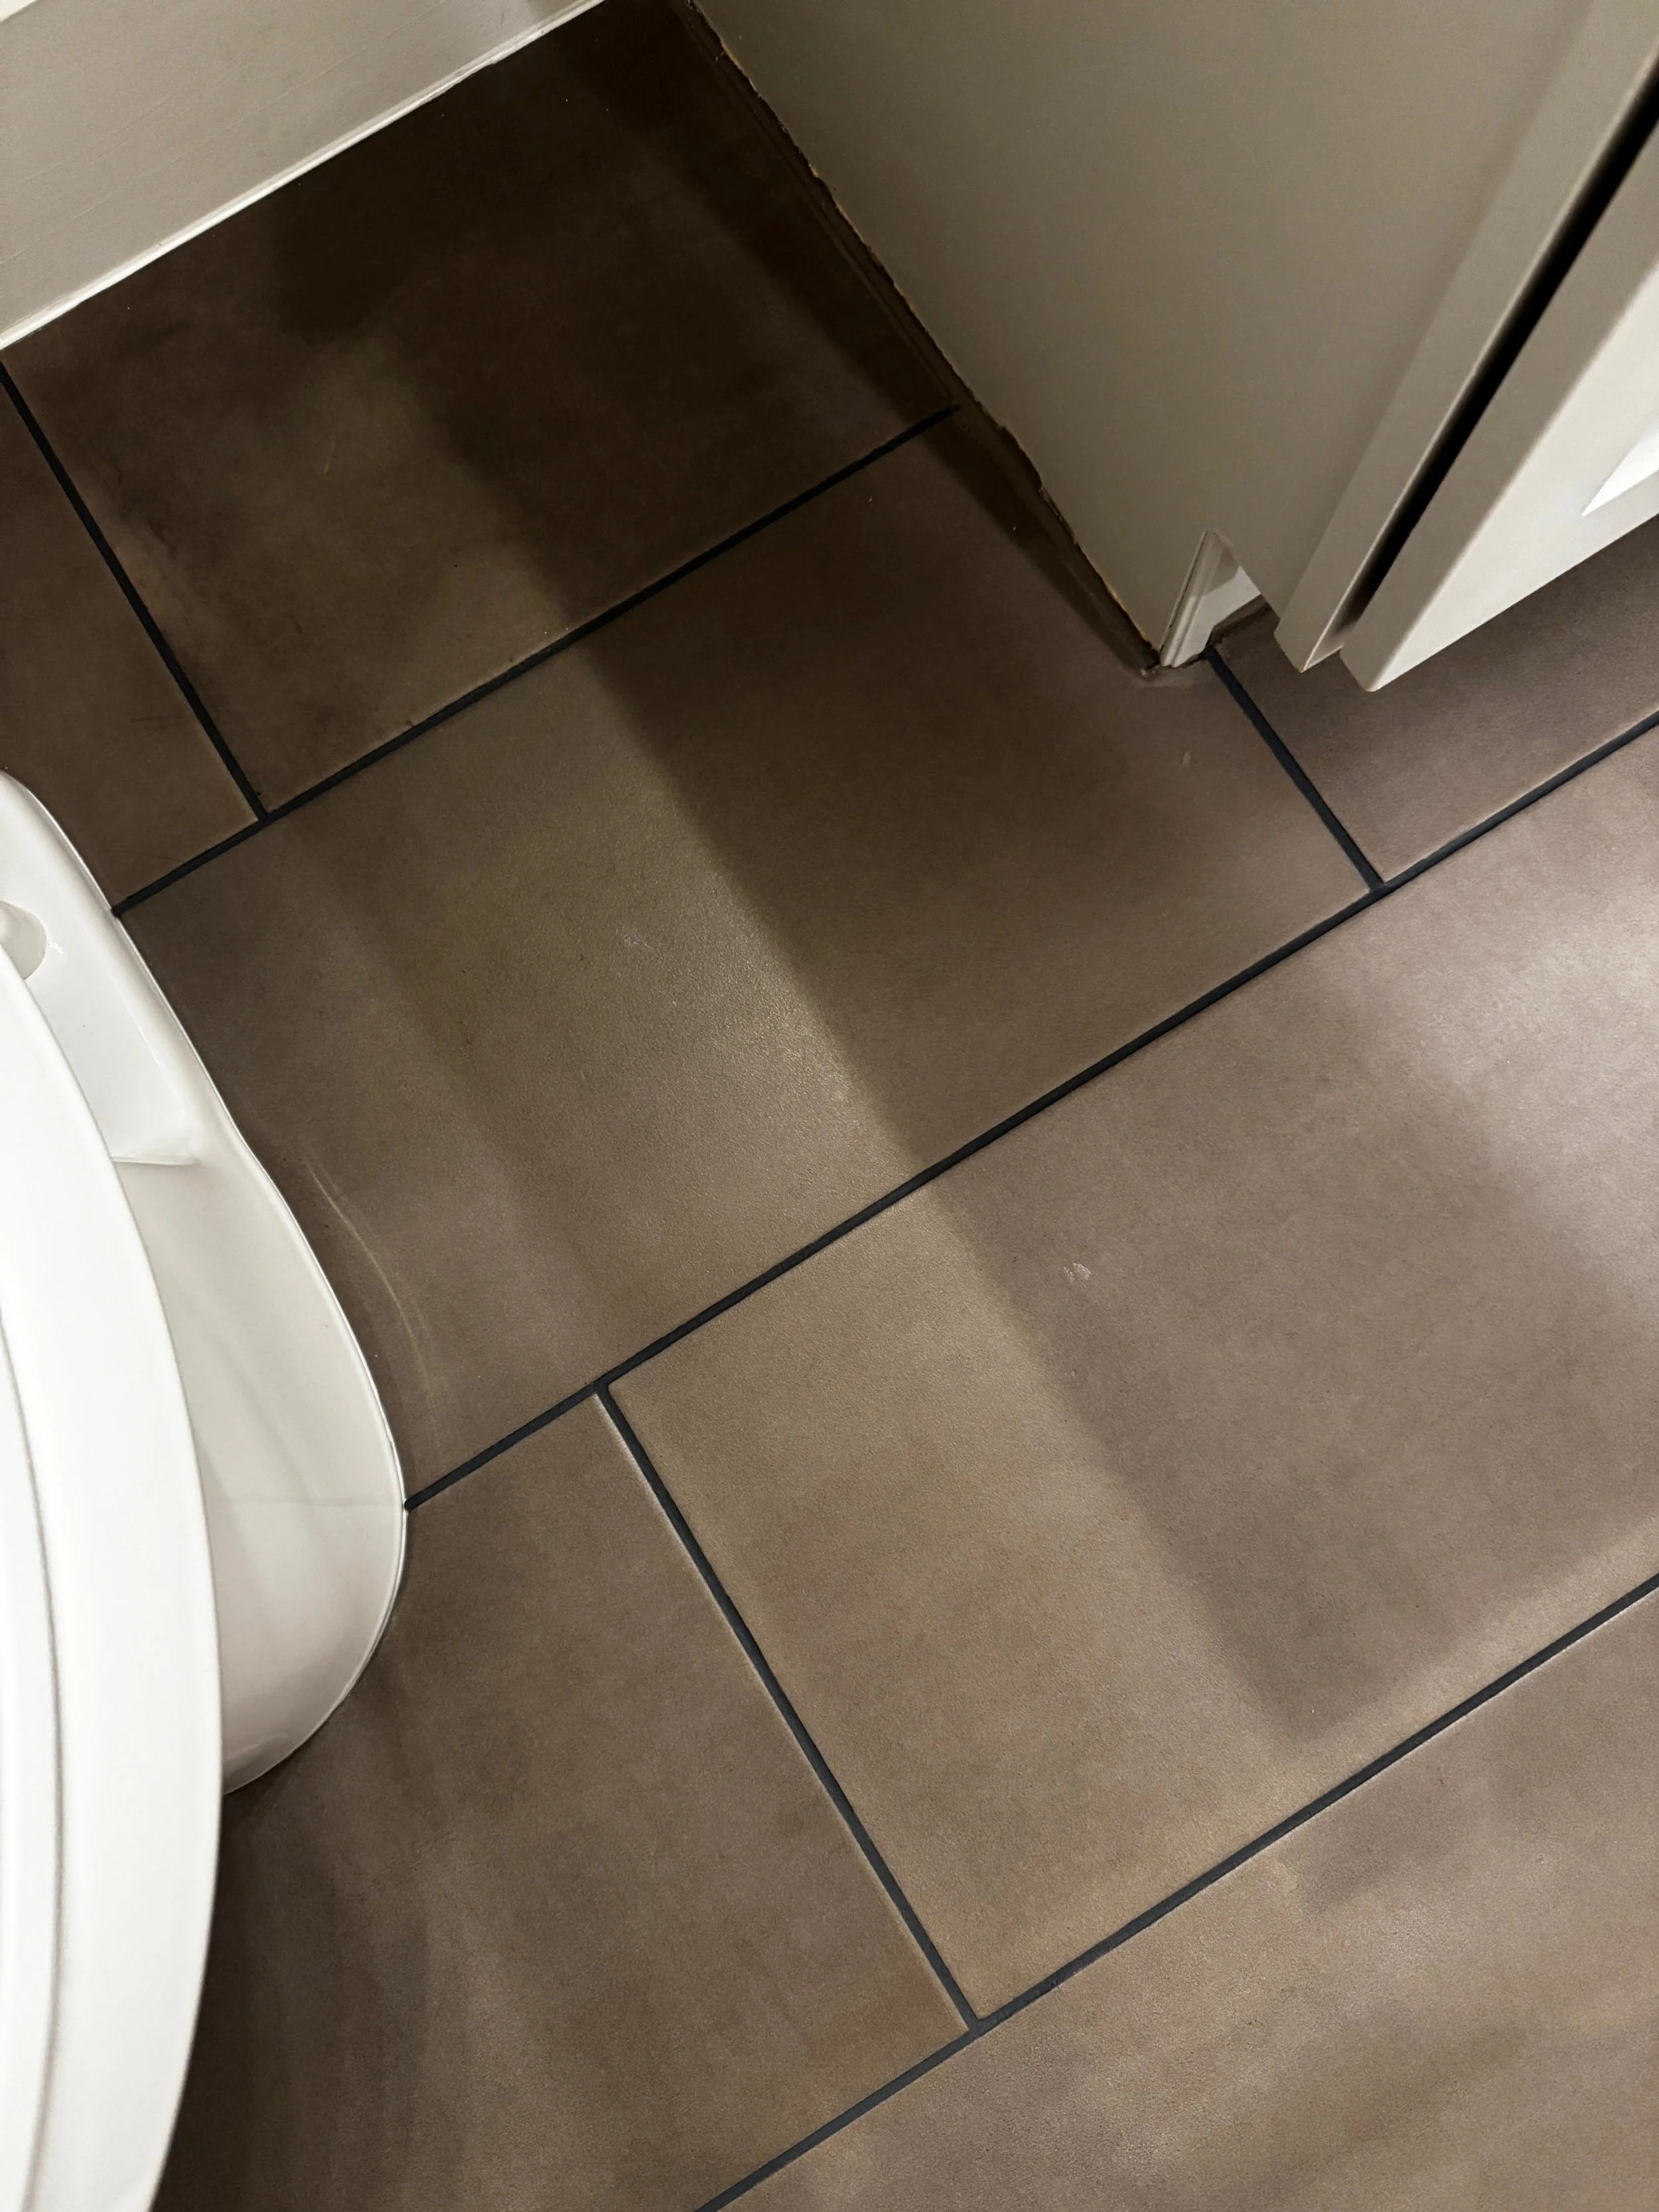
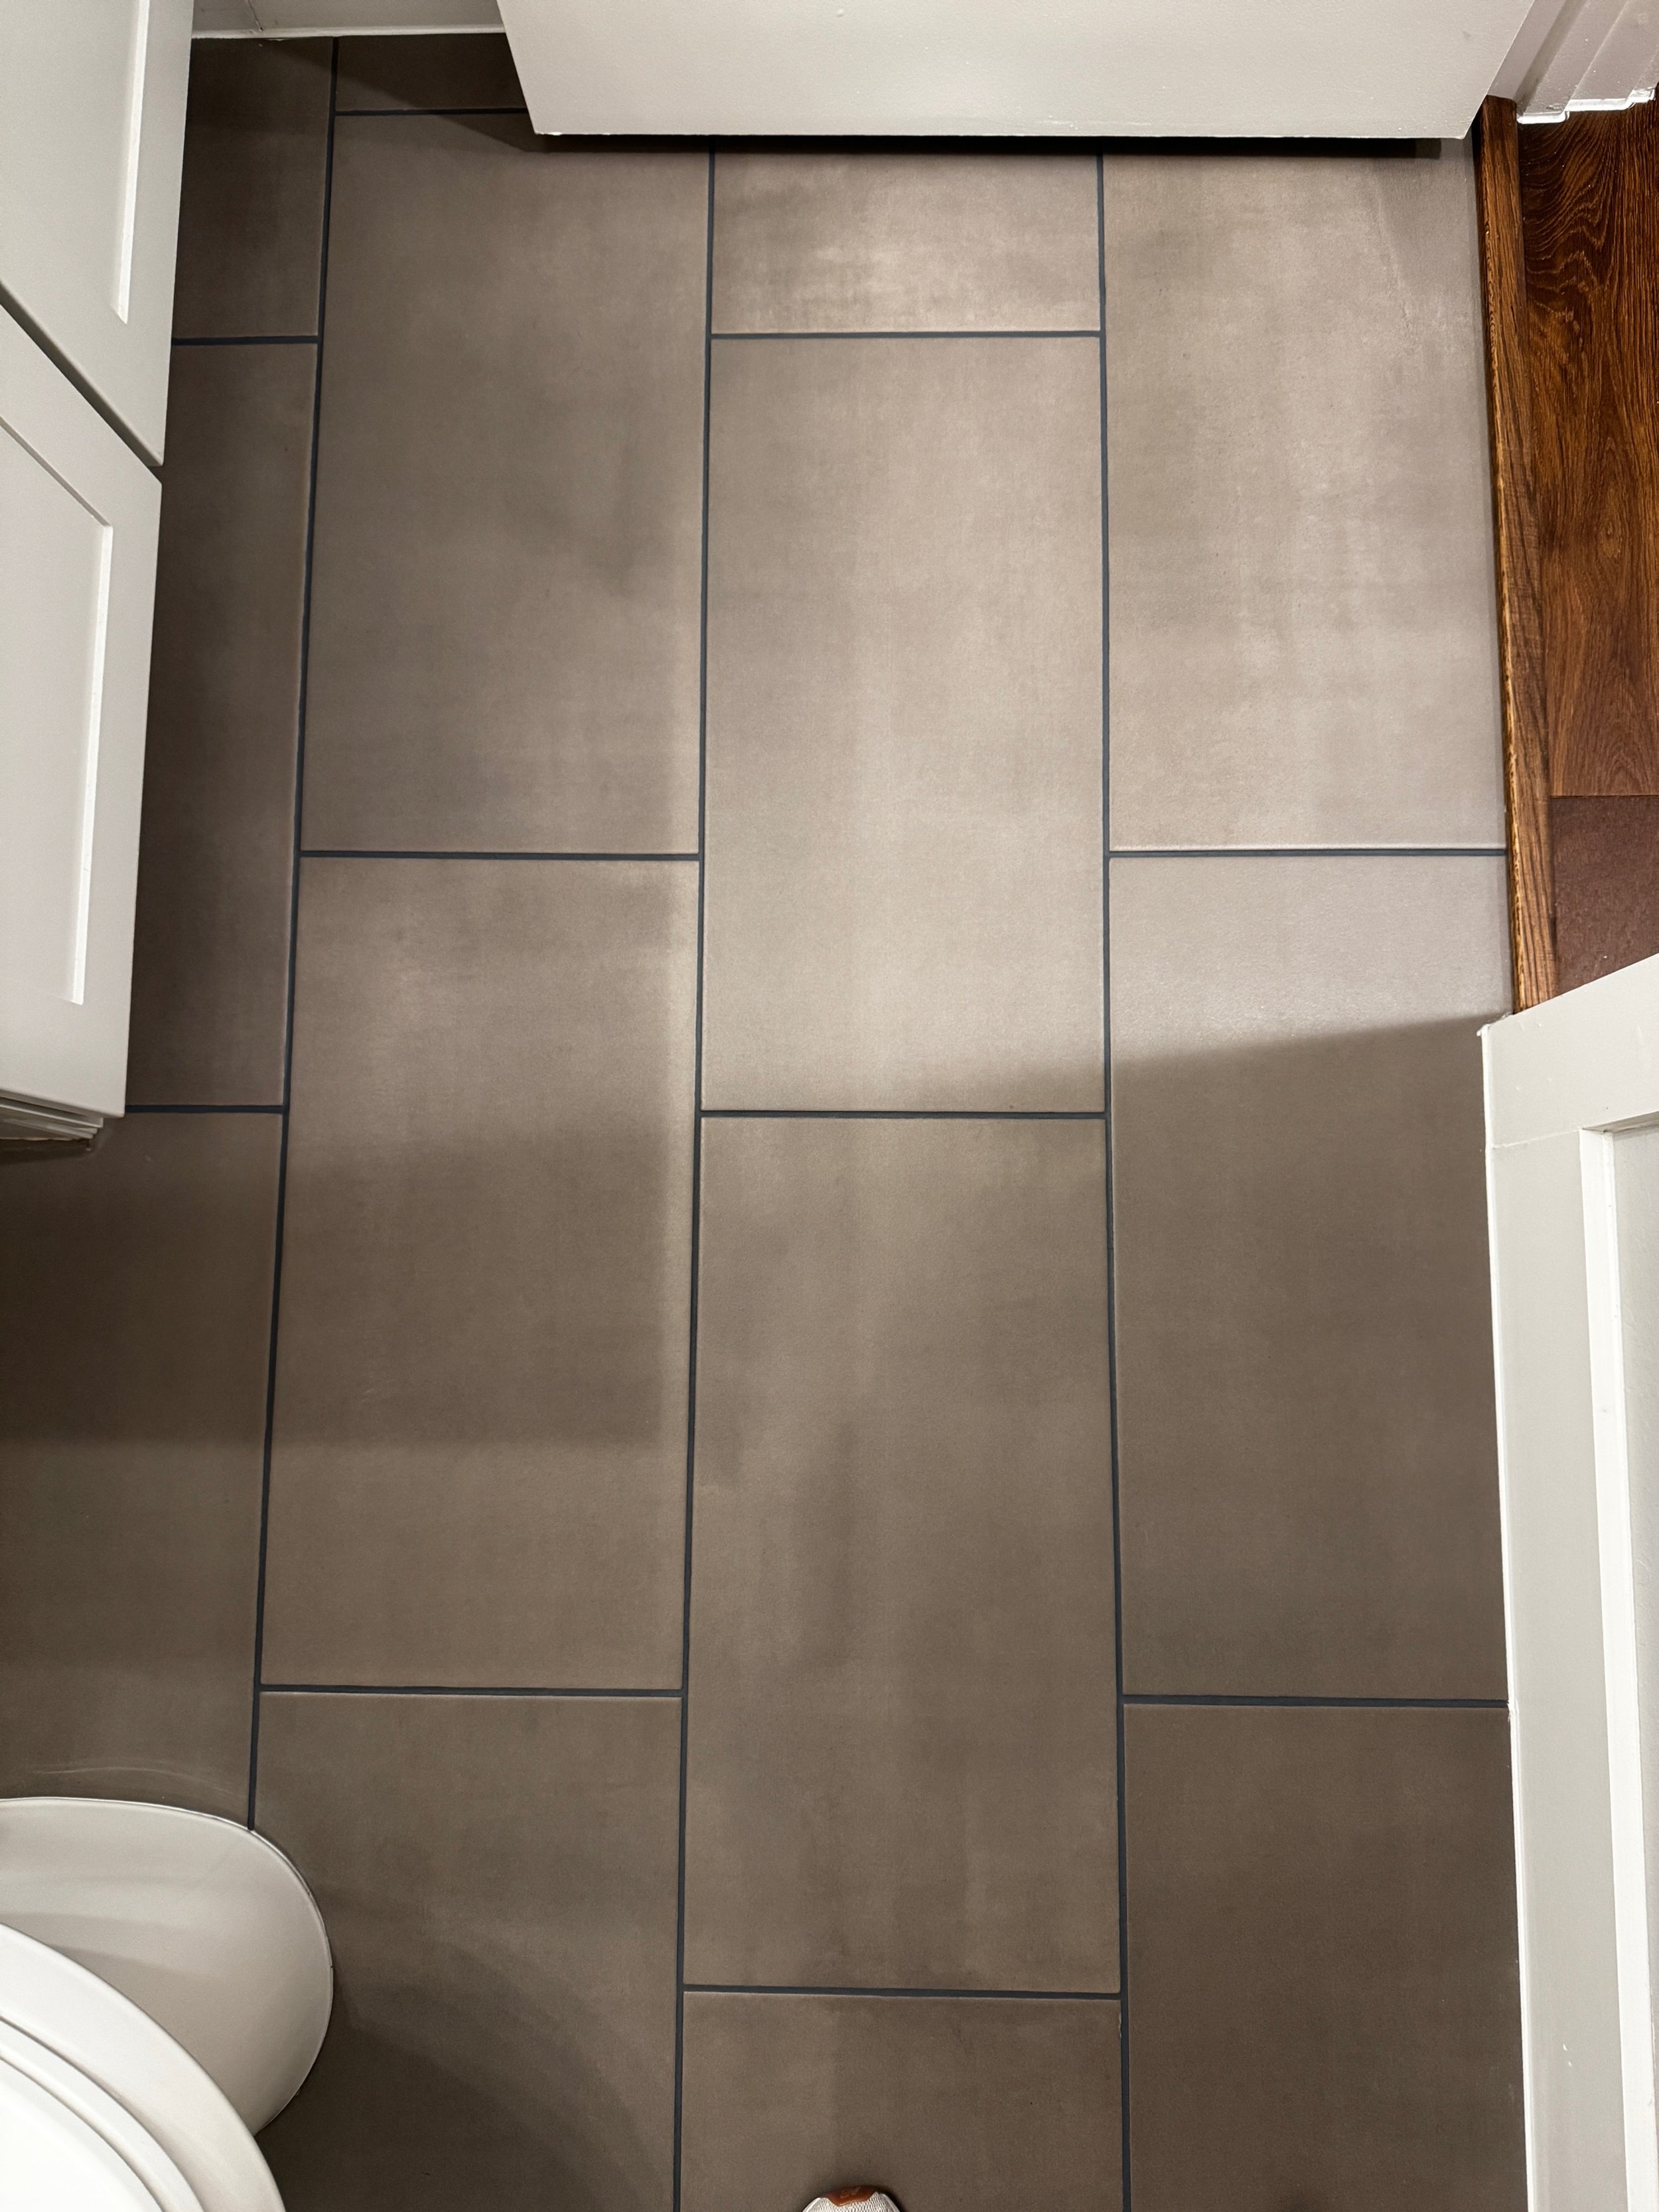
The floor tile grout was fading in umpteen spots.
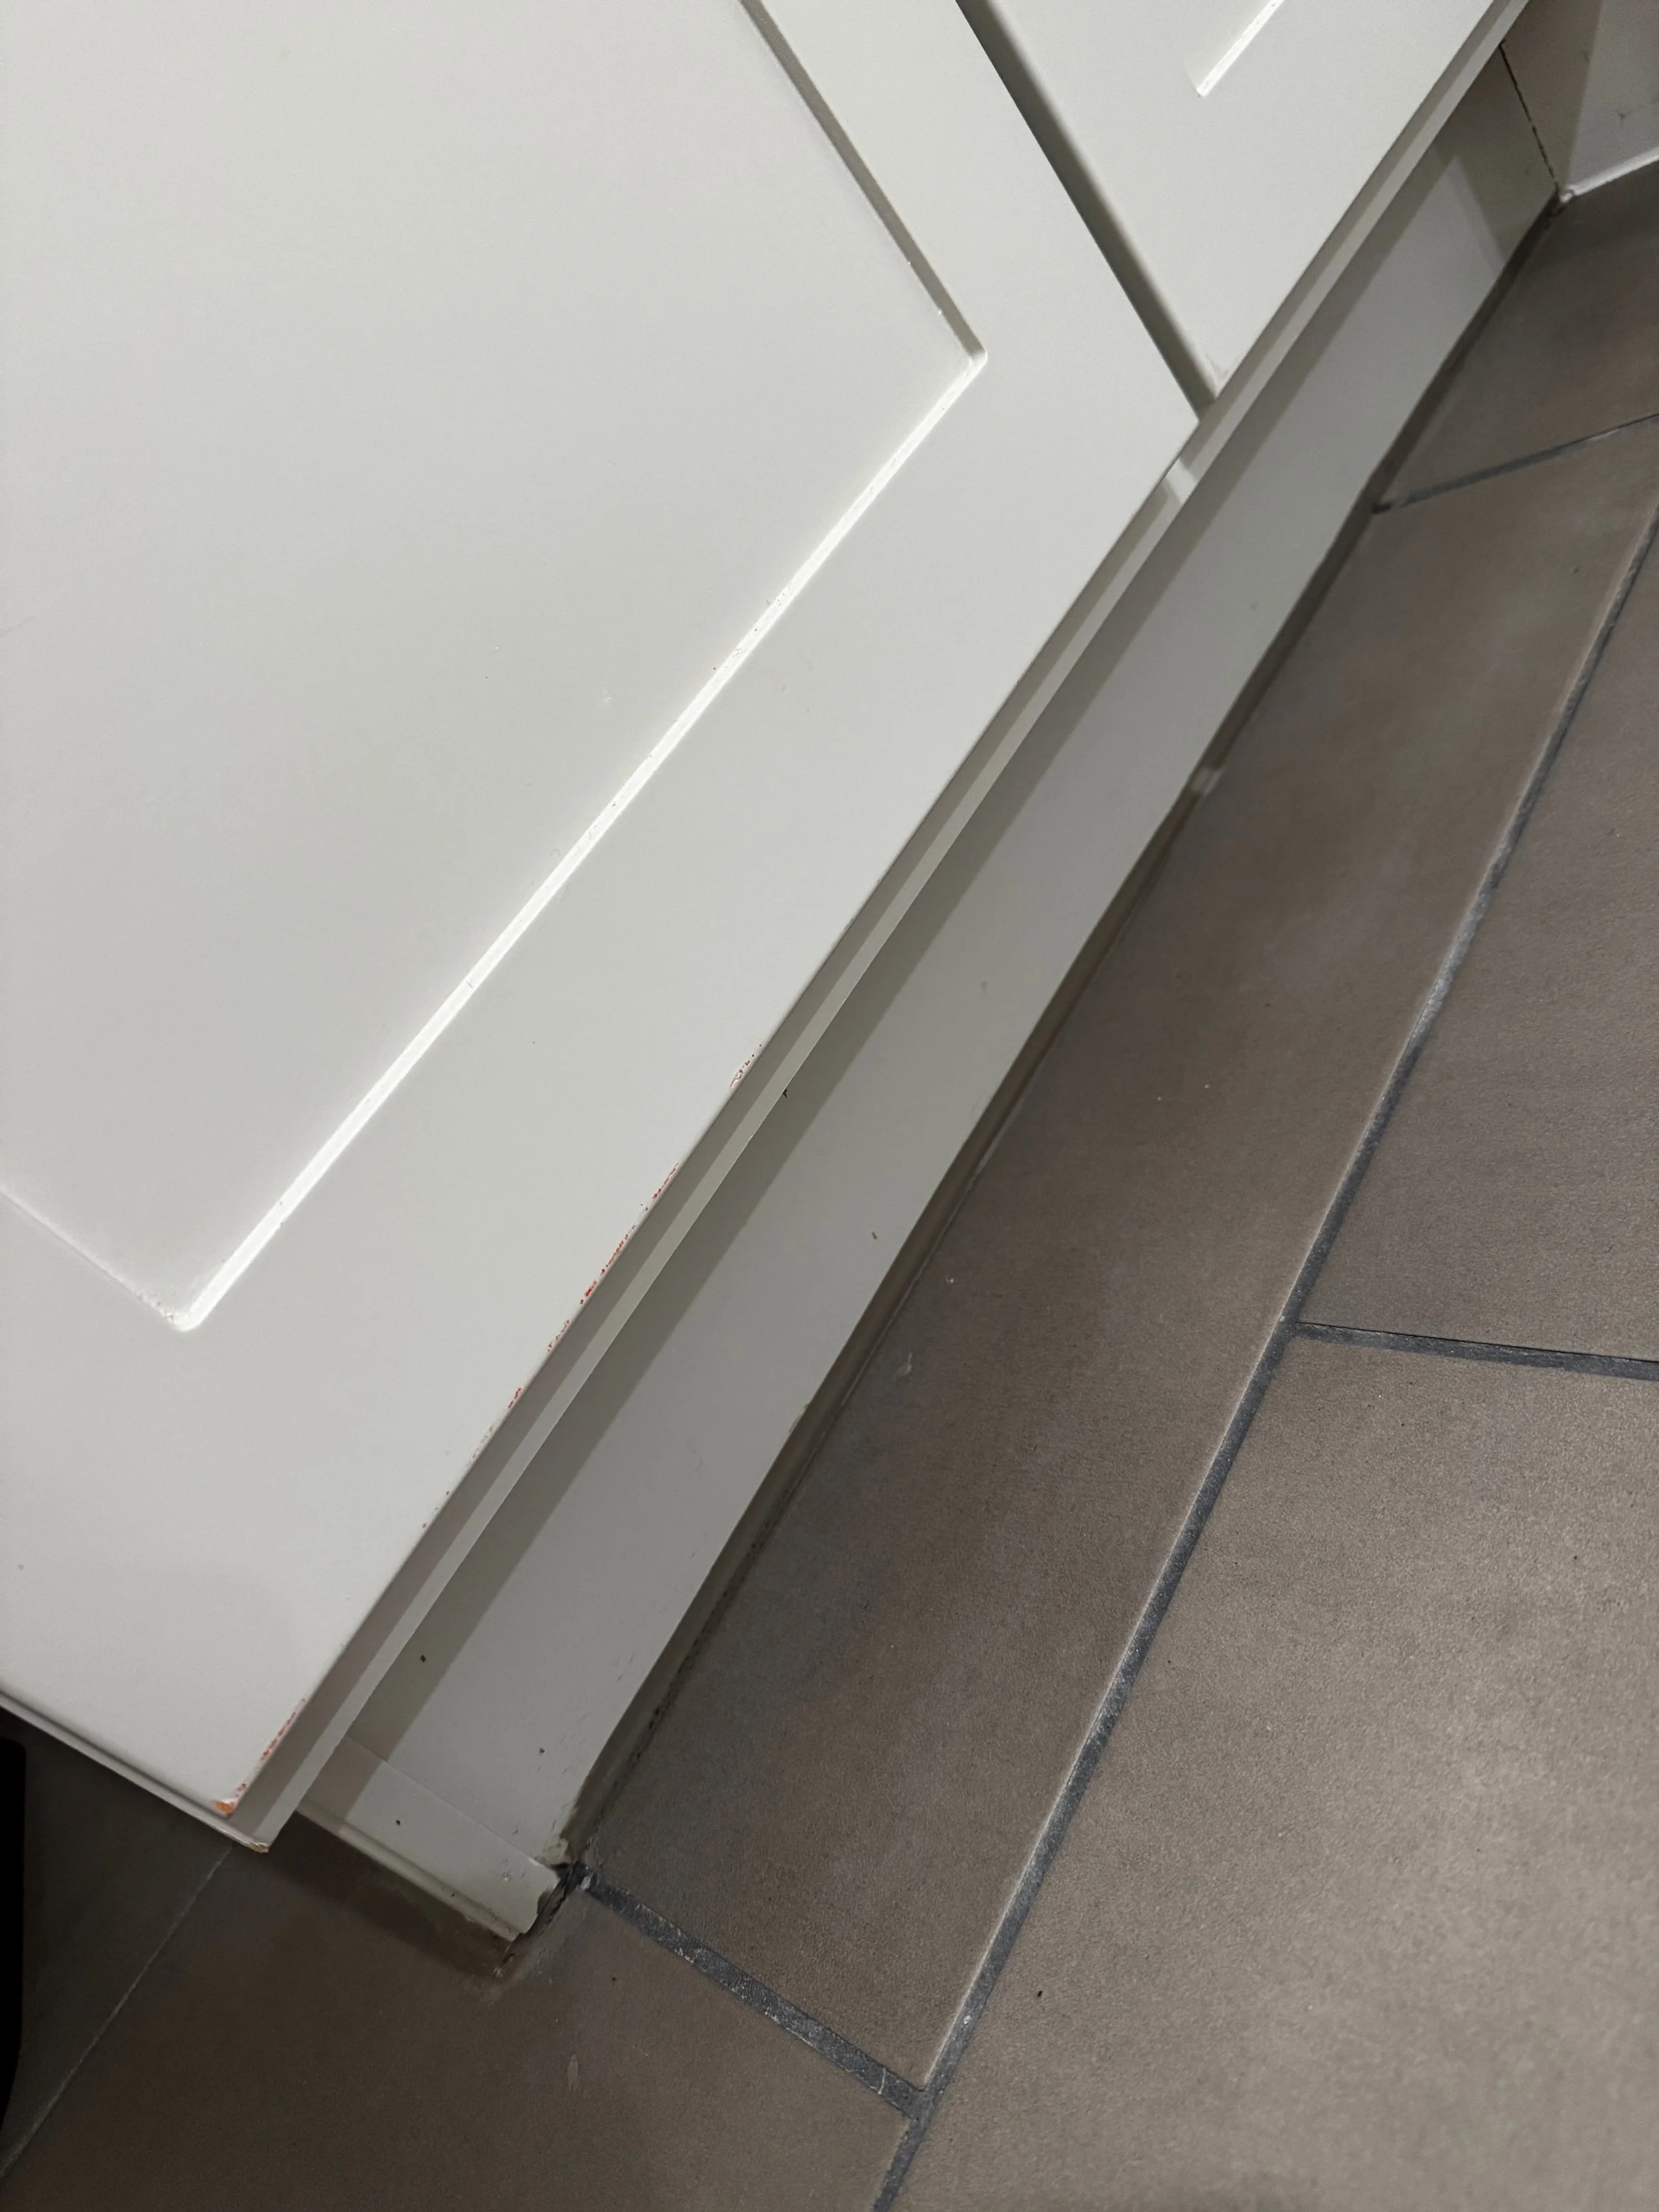
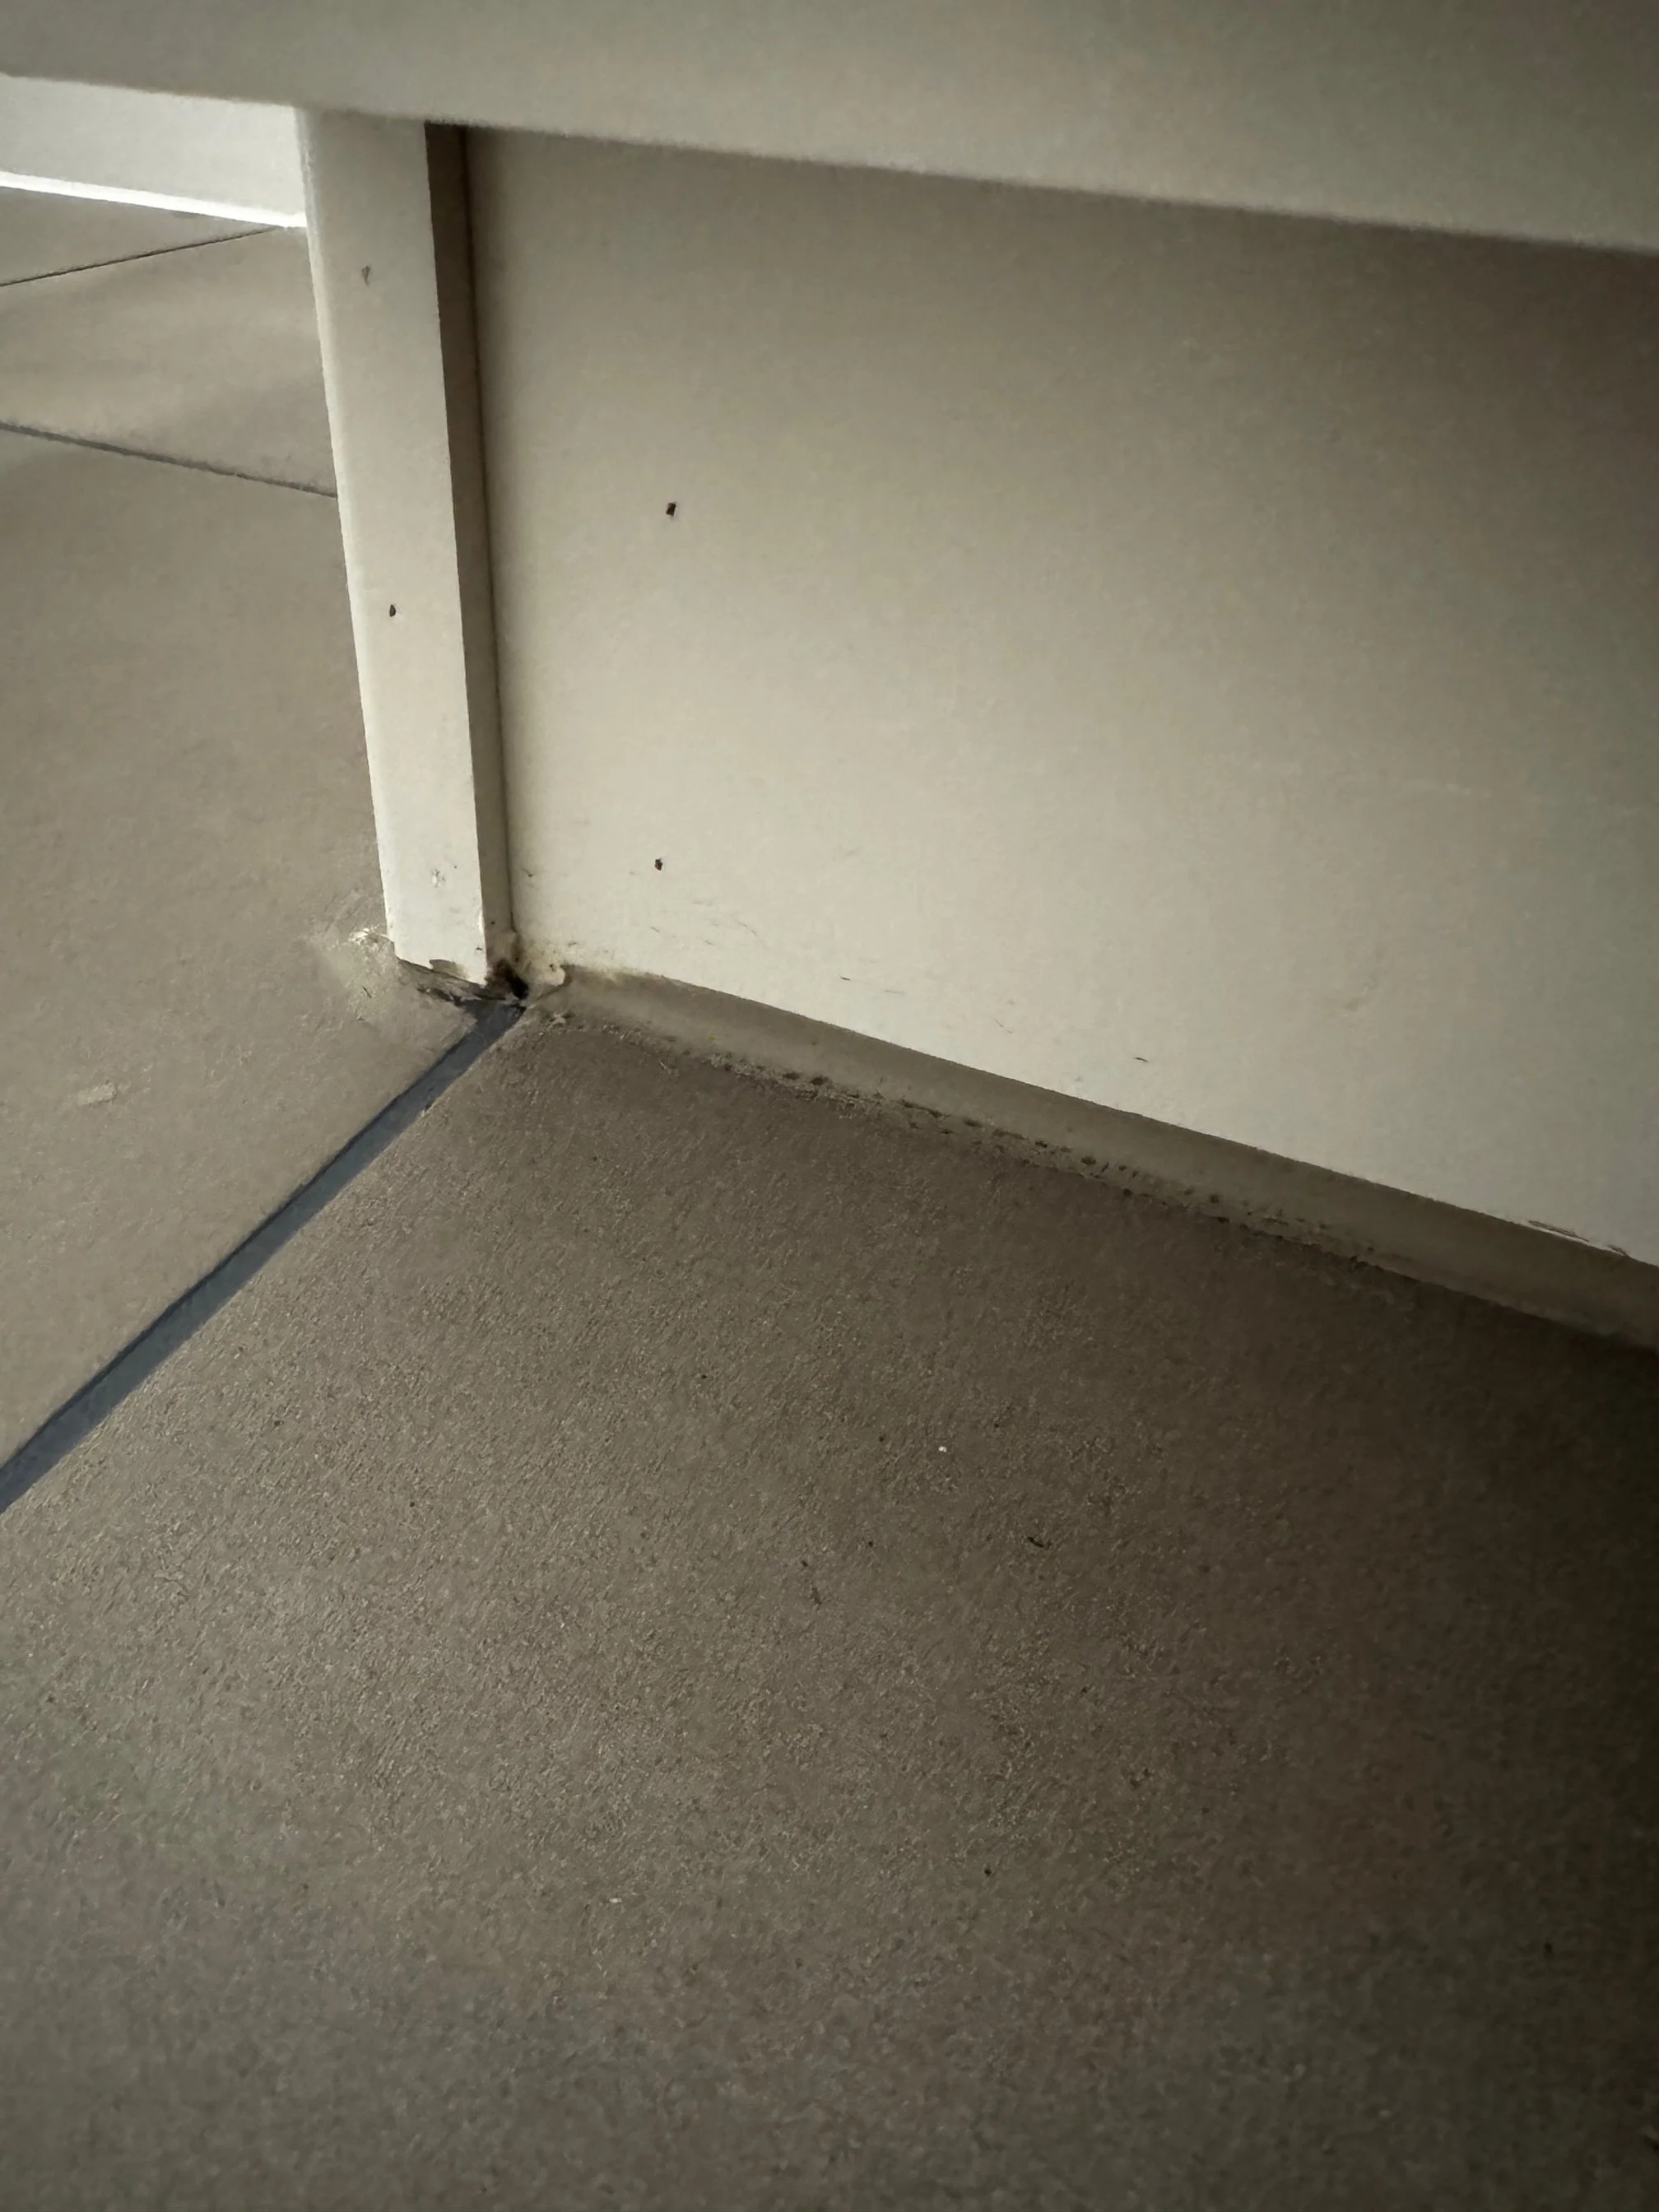
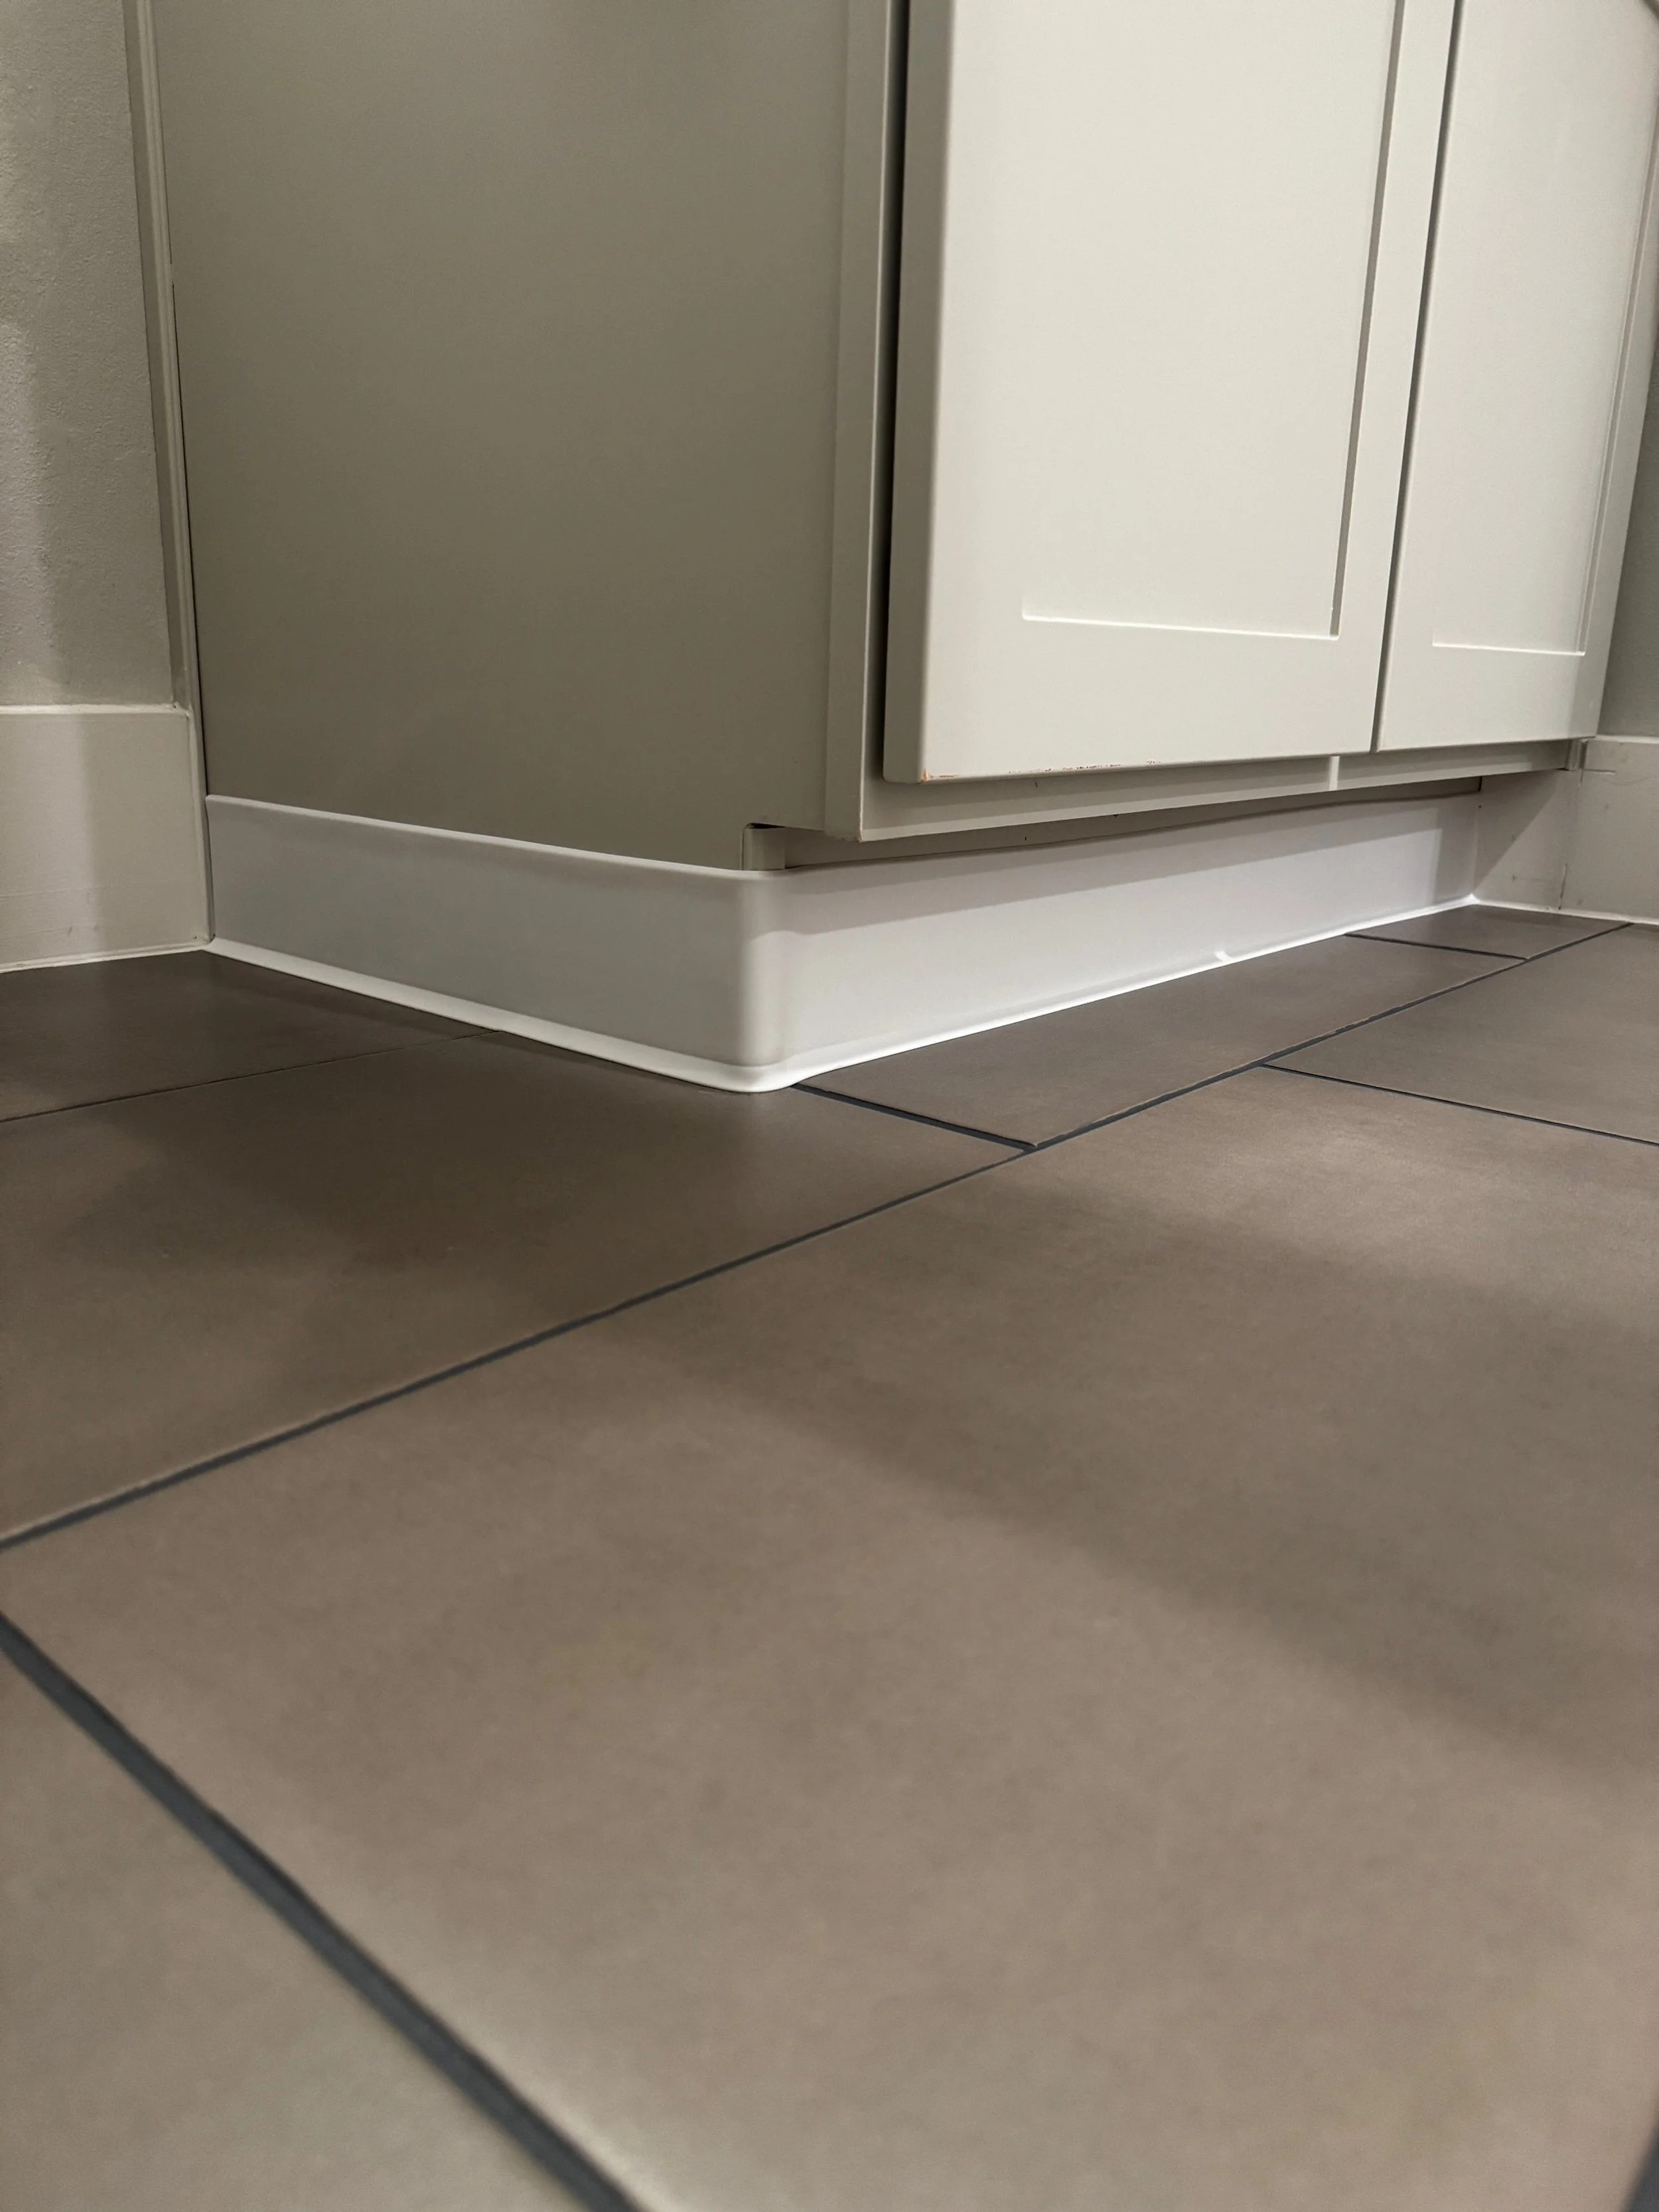
There was NO baseboard to the vanity and the area where the vanity met the floor did NOT match a 2 year old home…I have SO MANY QUESTIONS.
The shower tile looked dingy with BEIGE grout and sloppy grouting.
The caulking around the vanity was excessively sloppy.
The curtain rod was low and thus I could see more of the tile I didn’t care for/pick.
The sink faucet is NOT centered…I have SO MANY QUESTIONS about that.
The vanity mirror, faucet, accessories, lighting, all the things were basic and match the master bathroom (which I plan to update the master after the holidays).
I could go on about the tub having knicks and scratches and marks after TWO years because of the lackluster installation much like the shower tile having markings on it (think marker ink), the counter being off center because the vanity shouldn’t have been buffered up against the wall, the wasted space between the vanity and the toilet, etc. etc. etc.


GUEST BATHROOM UPDATES:
I tried a few grout pens to determine which color I wanted to go with and ultimately chose the color closest to the original grout. I scrubbed the tile and colored in the grout and it looks a million times better, even if it’s not a tile nor a grout I would have chosen.
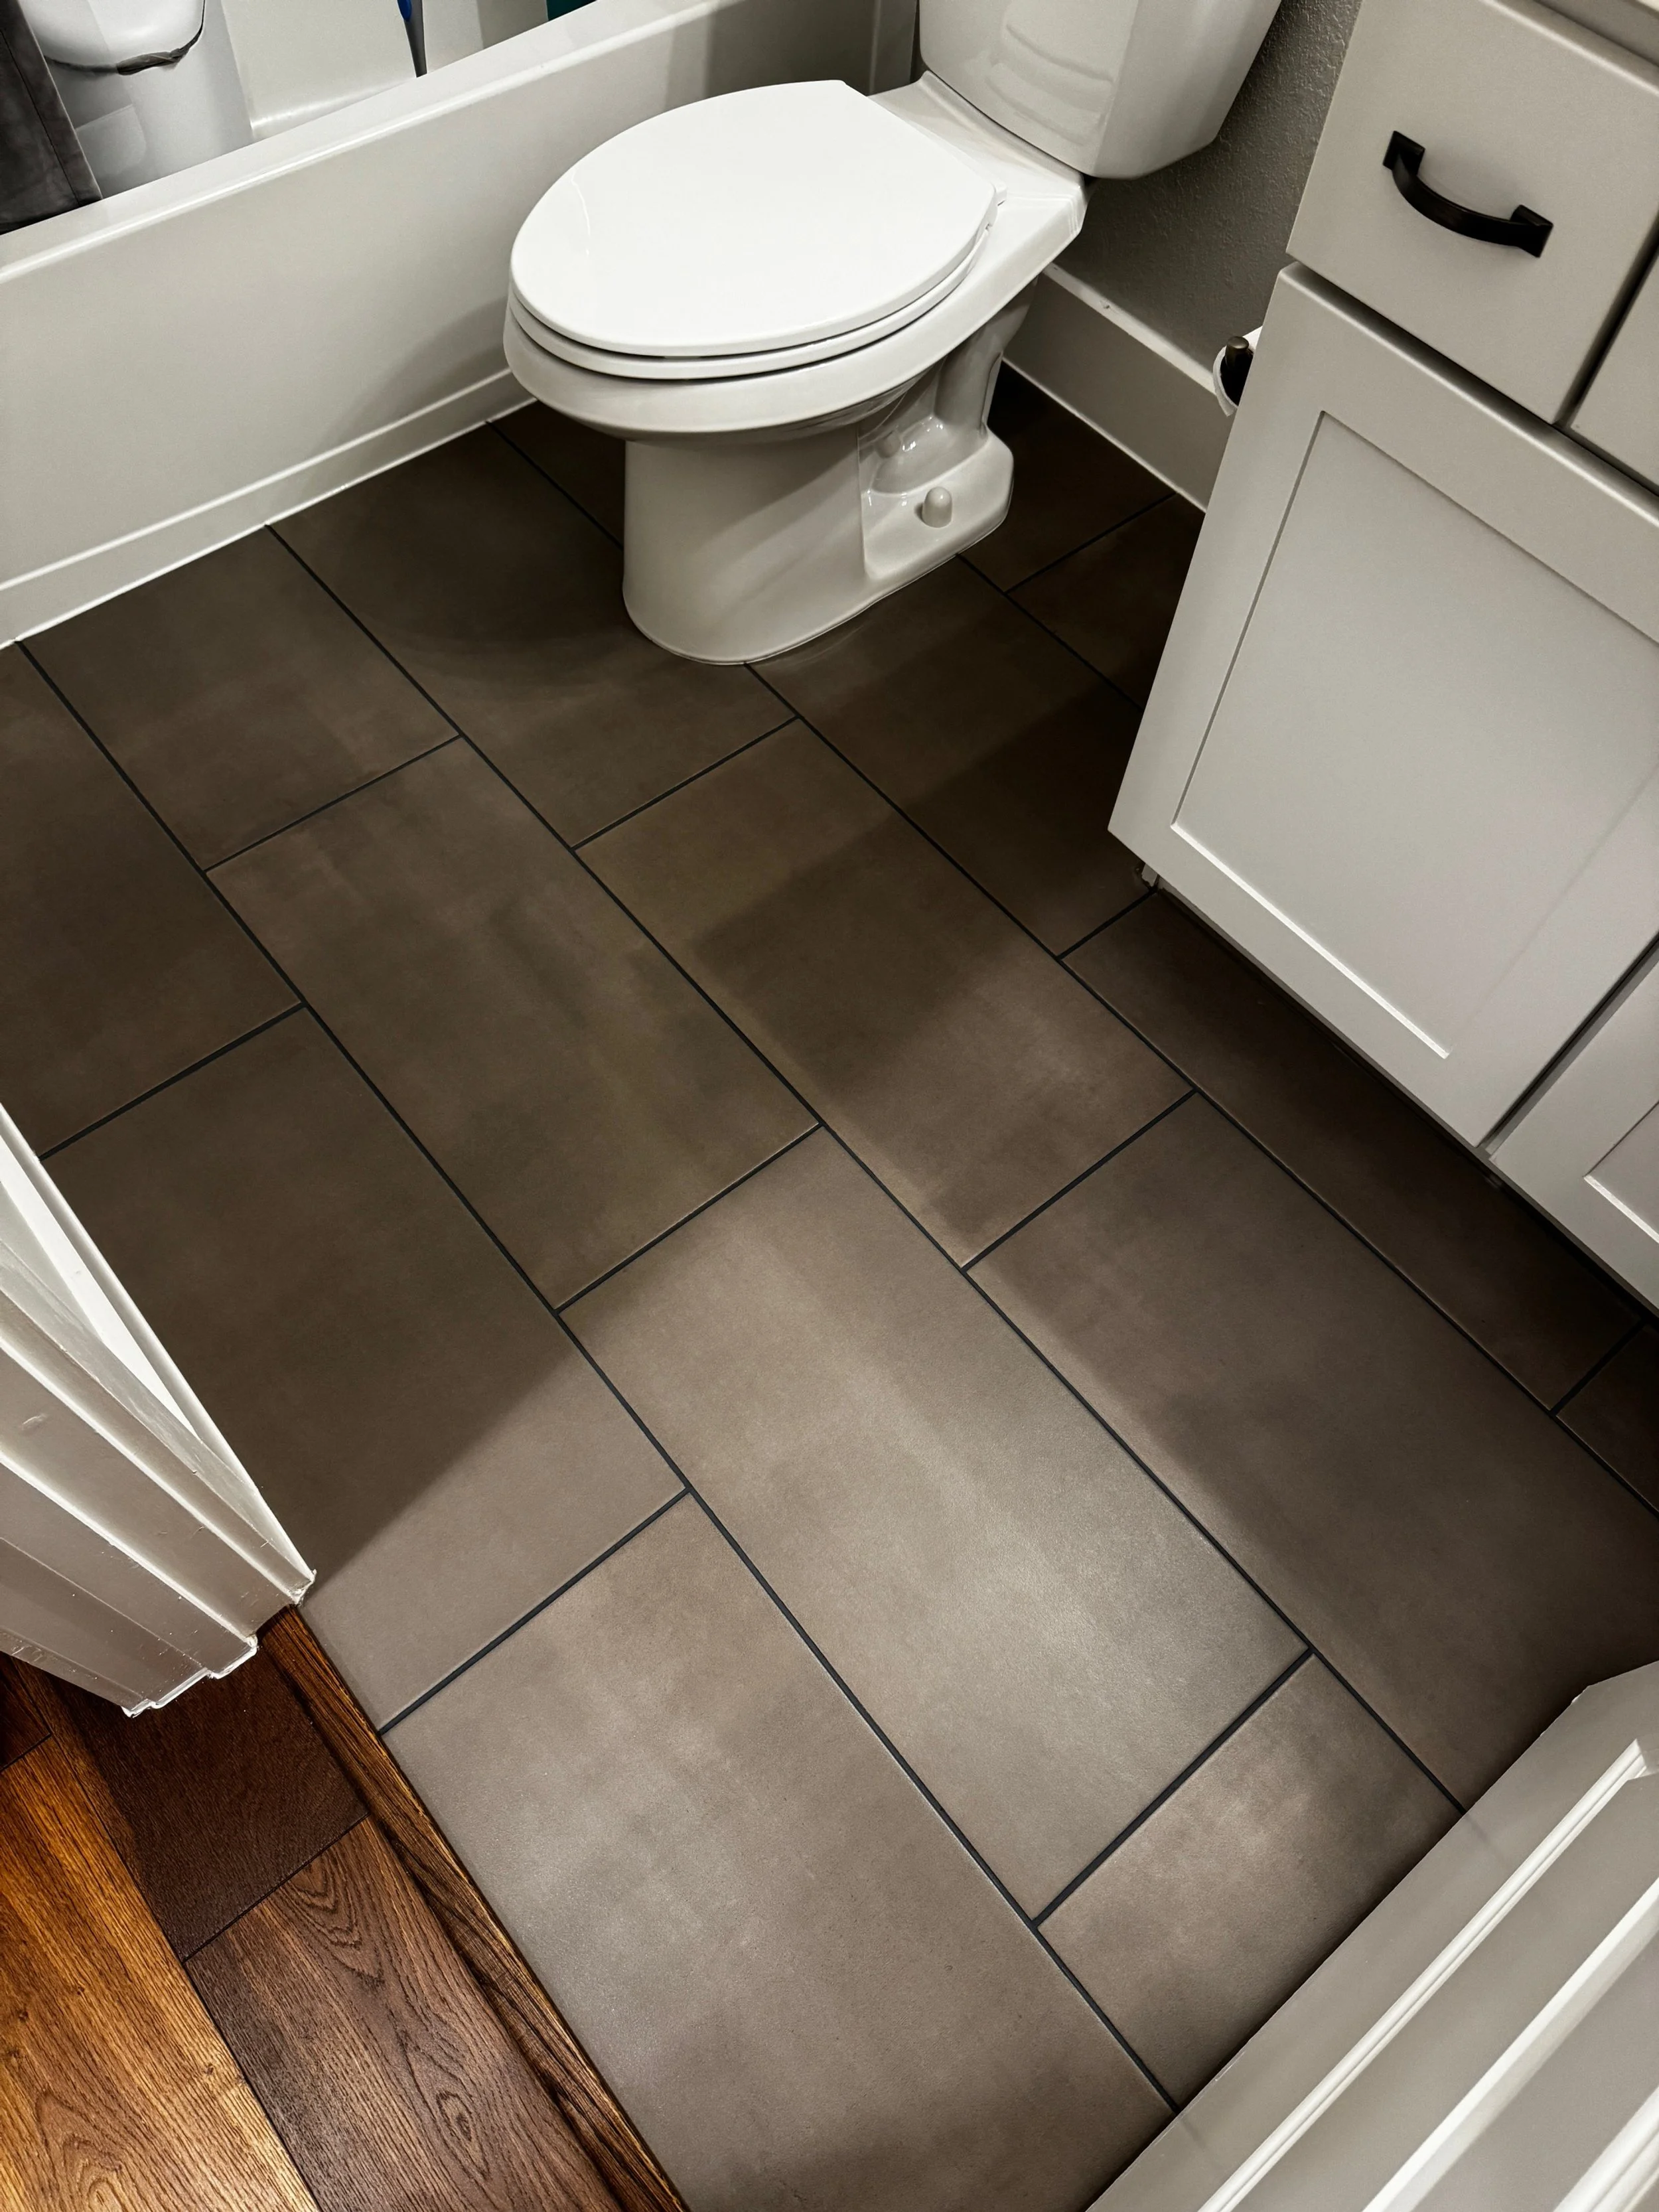

I ordered a peel and stick on trim for the vanity baseboard. This was the least expensive, temporary option until the if/when I replace the vanity because the front bottom corner of the vanity has a decorative (?) piece that sticks out, which means I couldn’t have trim measured and cut at Home Depot and attempted it myself with my non-carpentry skills.
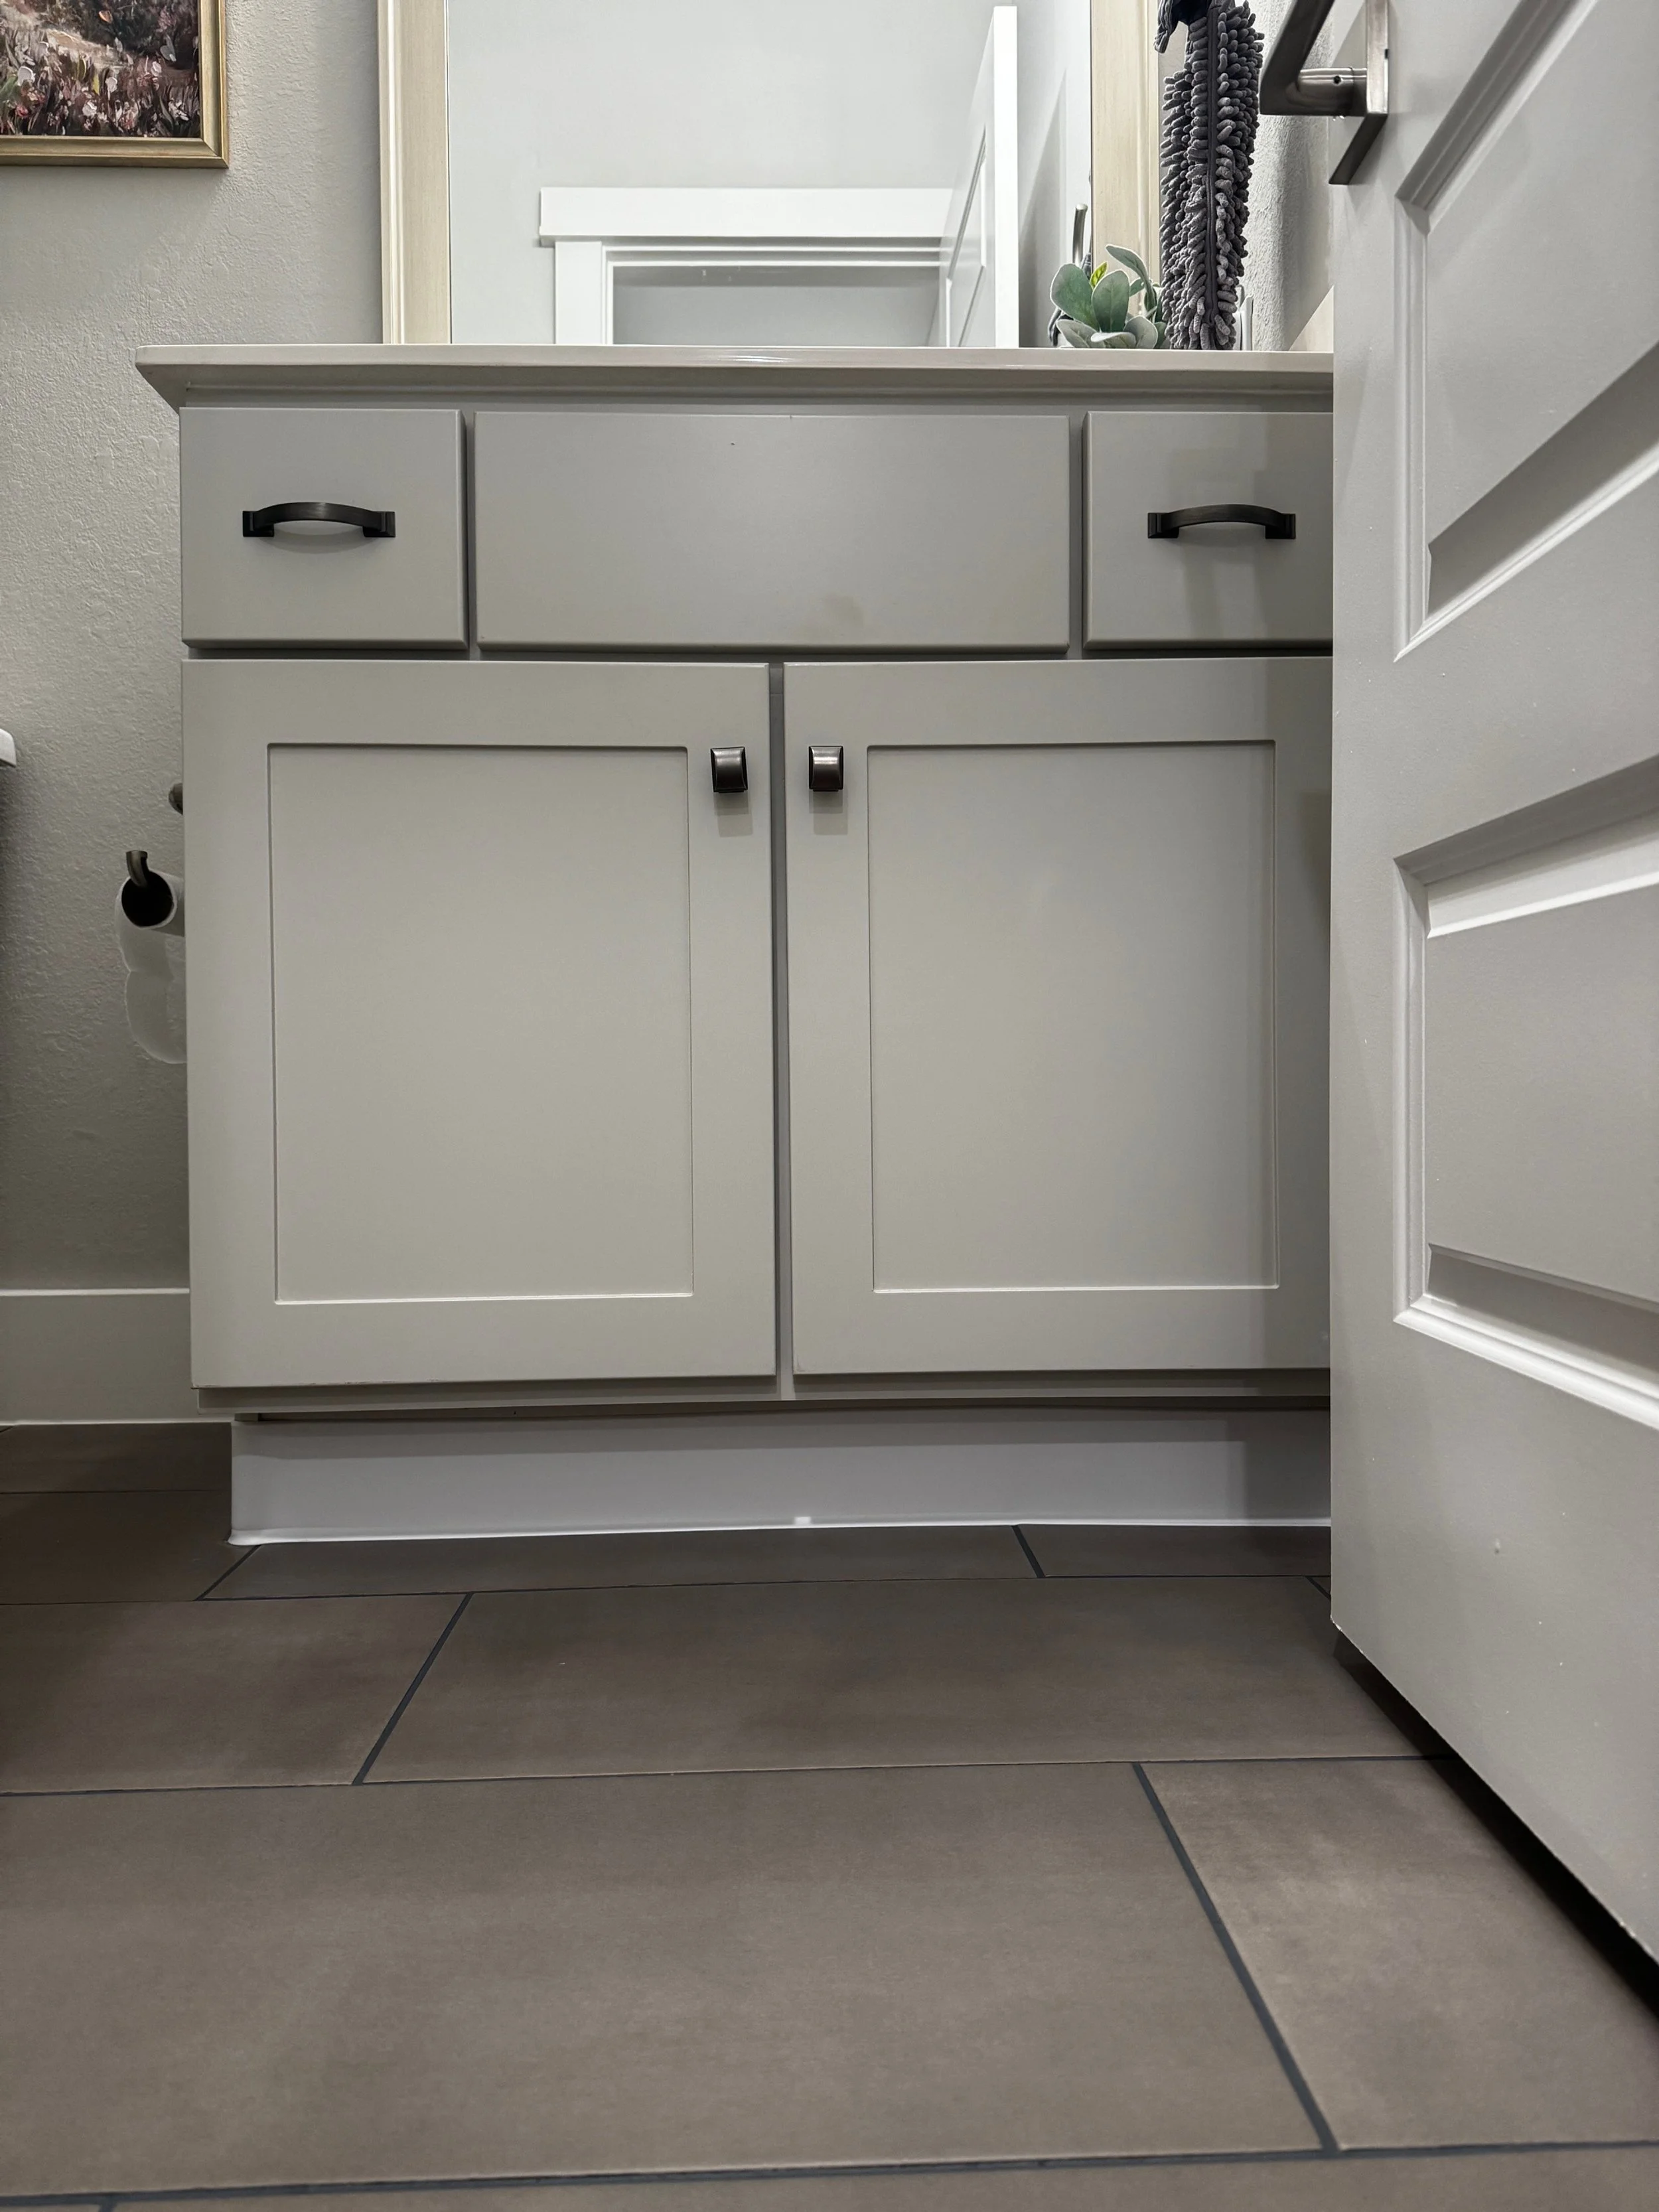

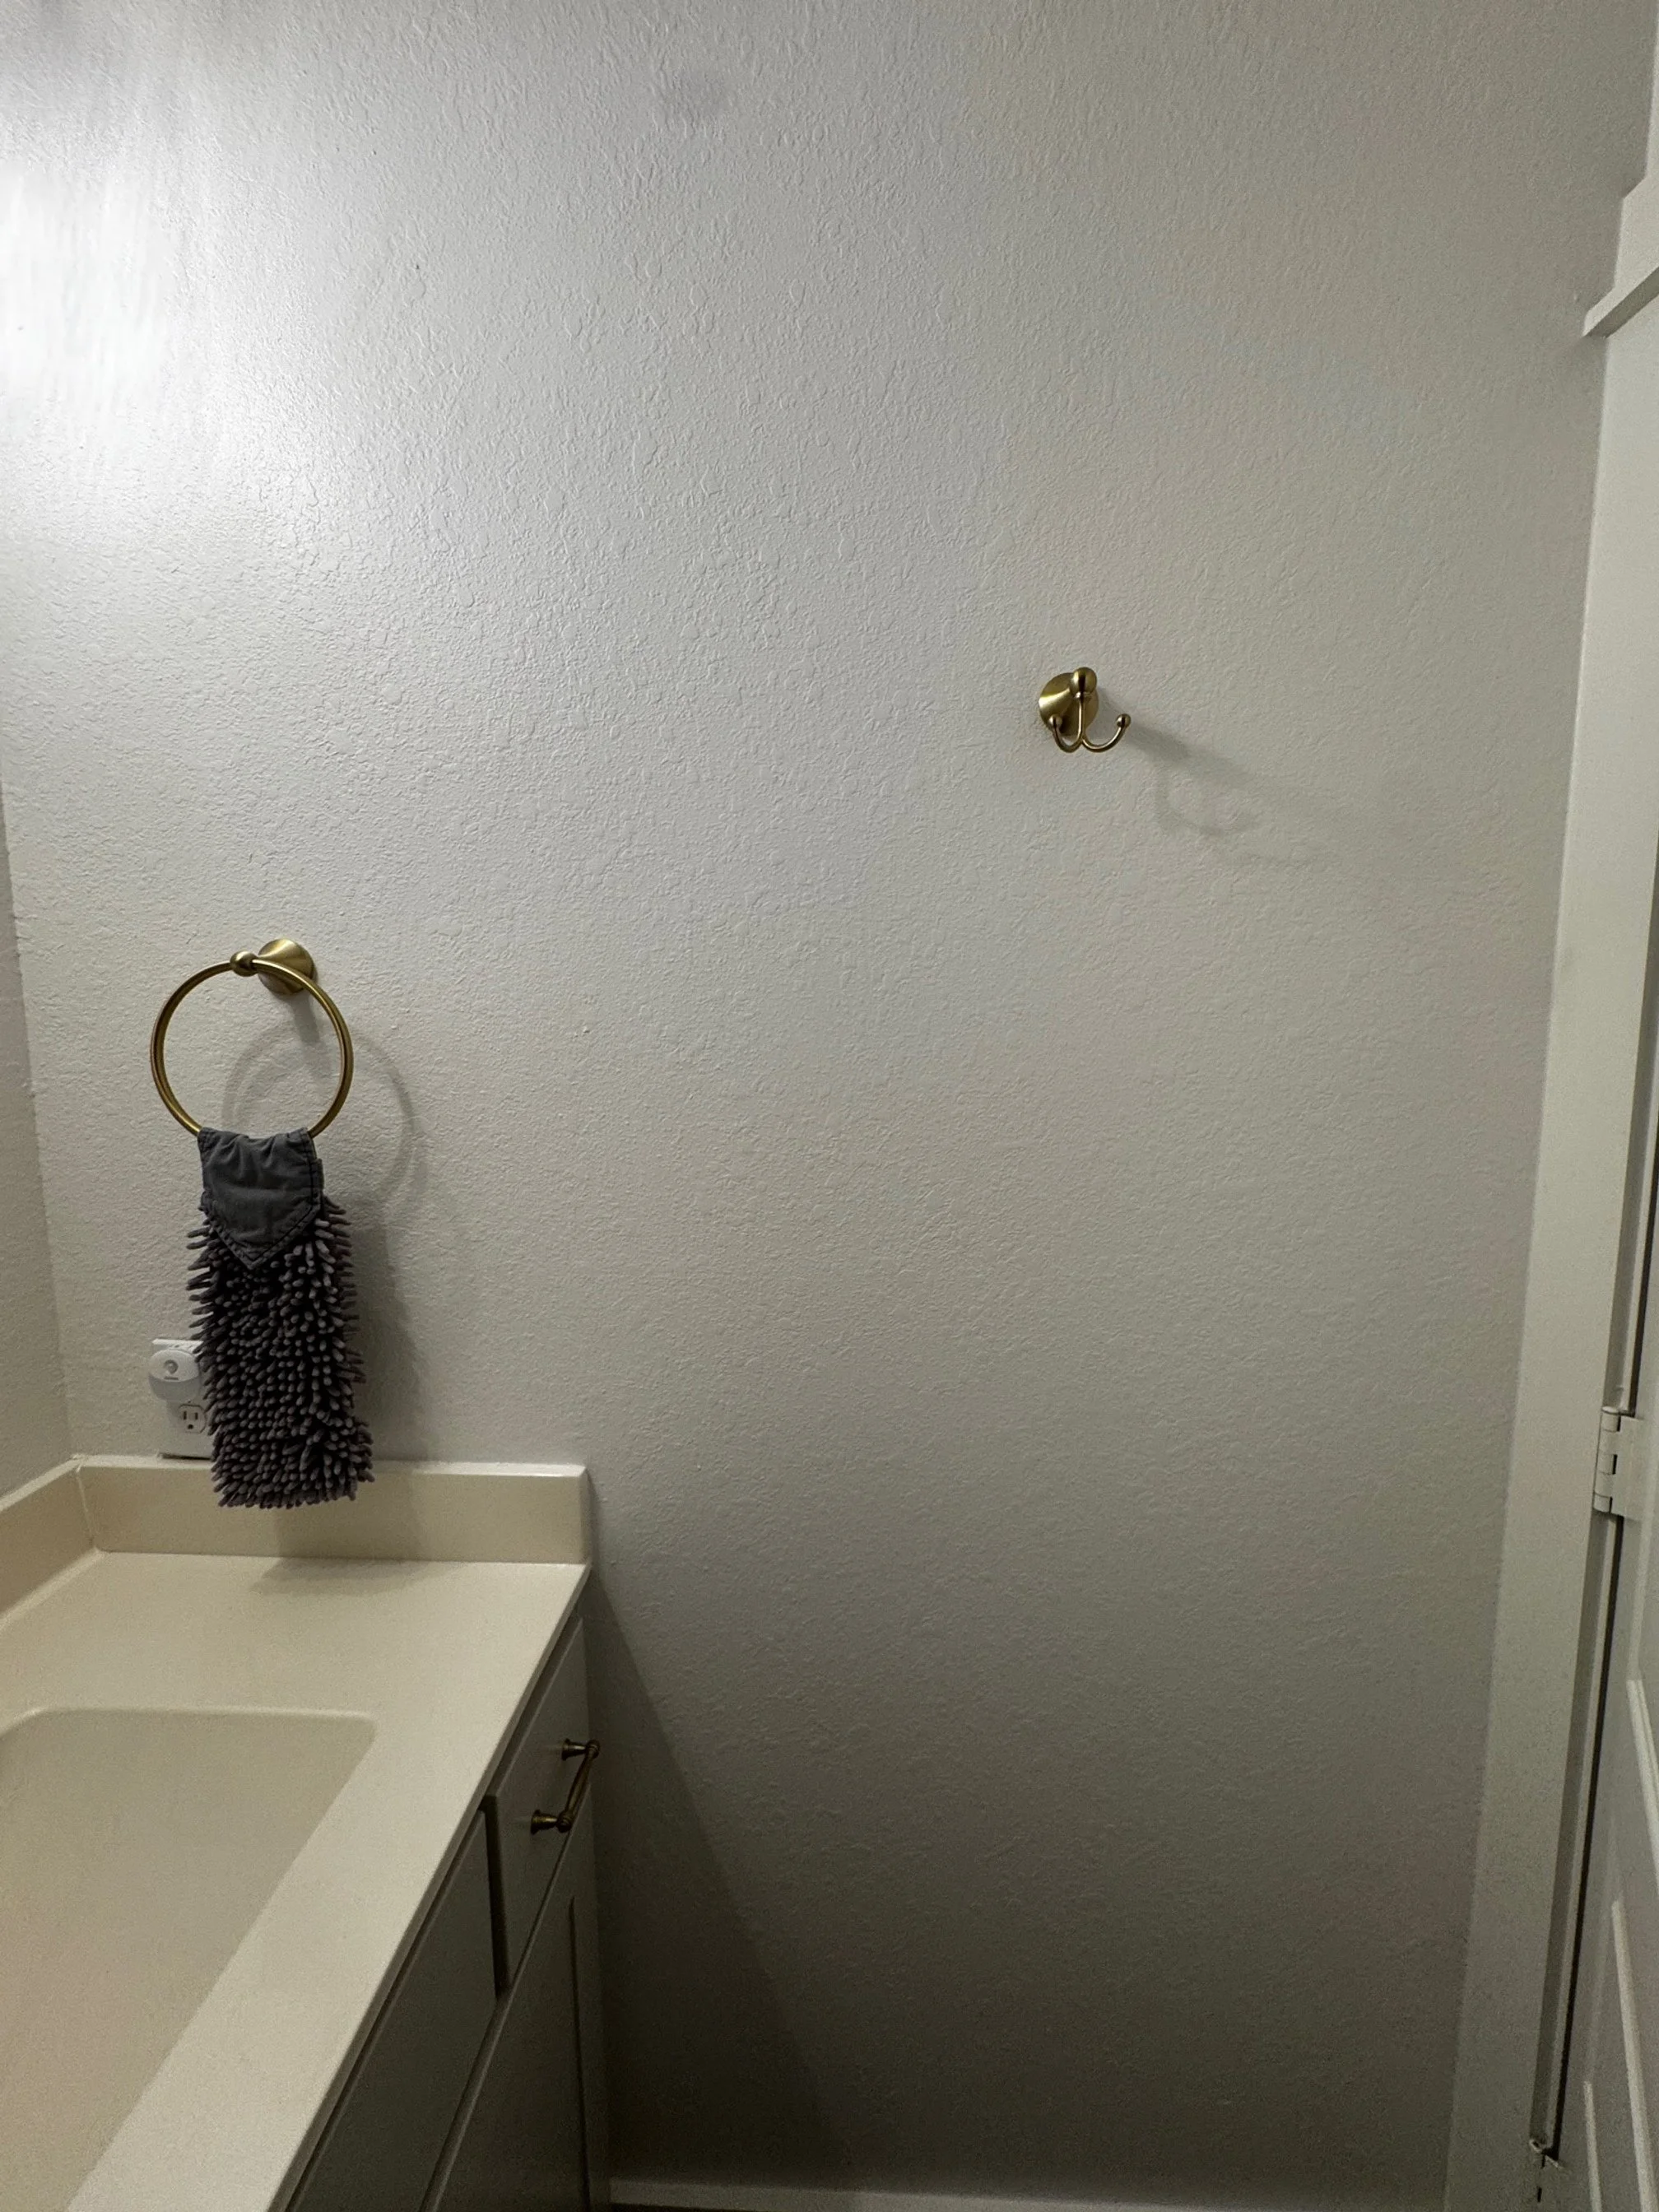
I replaced the vanity cabinet pulls, drawer pulls, sink faucet, mirror, vanity light, and bathroom accessories with gold items. I got mighty handy with my drill for most of it and outsourced replacing the light fixture, hanging the (heavy) mirror, and replacing the sink faucet to my trusty handyman. I am not about to attempt to learn how to do those things at this time.


I used a white grout pen to whiten the beige shower grout and scrubbed excess, sloppy grout off of the tile.
I hung a gold, retractable curtain rod higher up to use olive green curtains I already had that cover the lower curtain rod that is mounted into the tile. The lower rod still hangs the shower liner so it works well enough. Definitely an unprofessional decision, but I appreciate that I see less tile and the shower looks more elegant with the longer curtains.
Because everything within the shower is hidden, I did not replace the original silver shower/tub faucet nor the suction hooks I added after I moved in.


I painted the walls Sherwin Williams “Snowbound” to match the existing trim. I considered painting the walls a dark green when I was first considering gutting the bathroom, but decided to stick with a white shade to lighten the room up since I would not be replacing the floor nor shower tiles. What was interesting to me is how unassuming the Repose Gray was in the bathroom and overall throughout the house until I started painting it white.


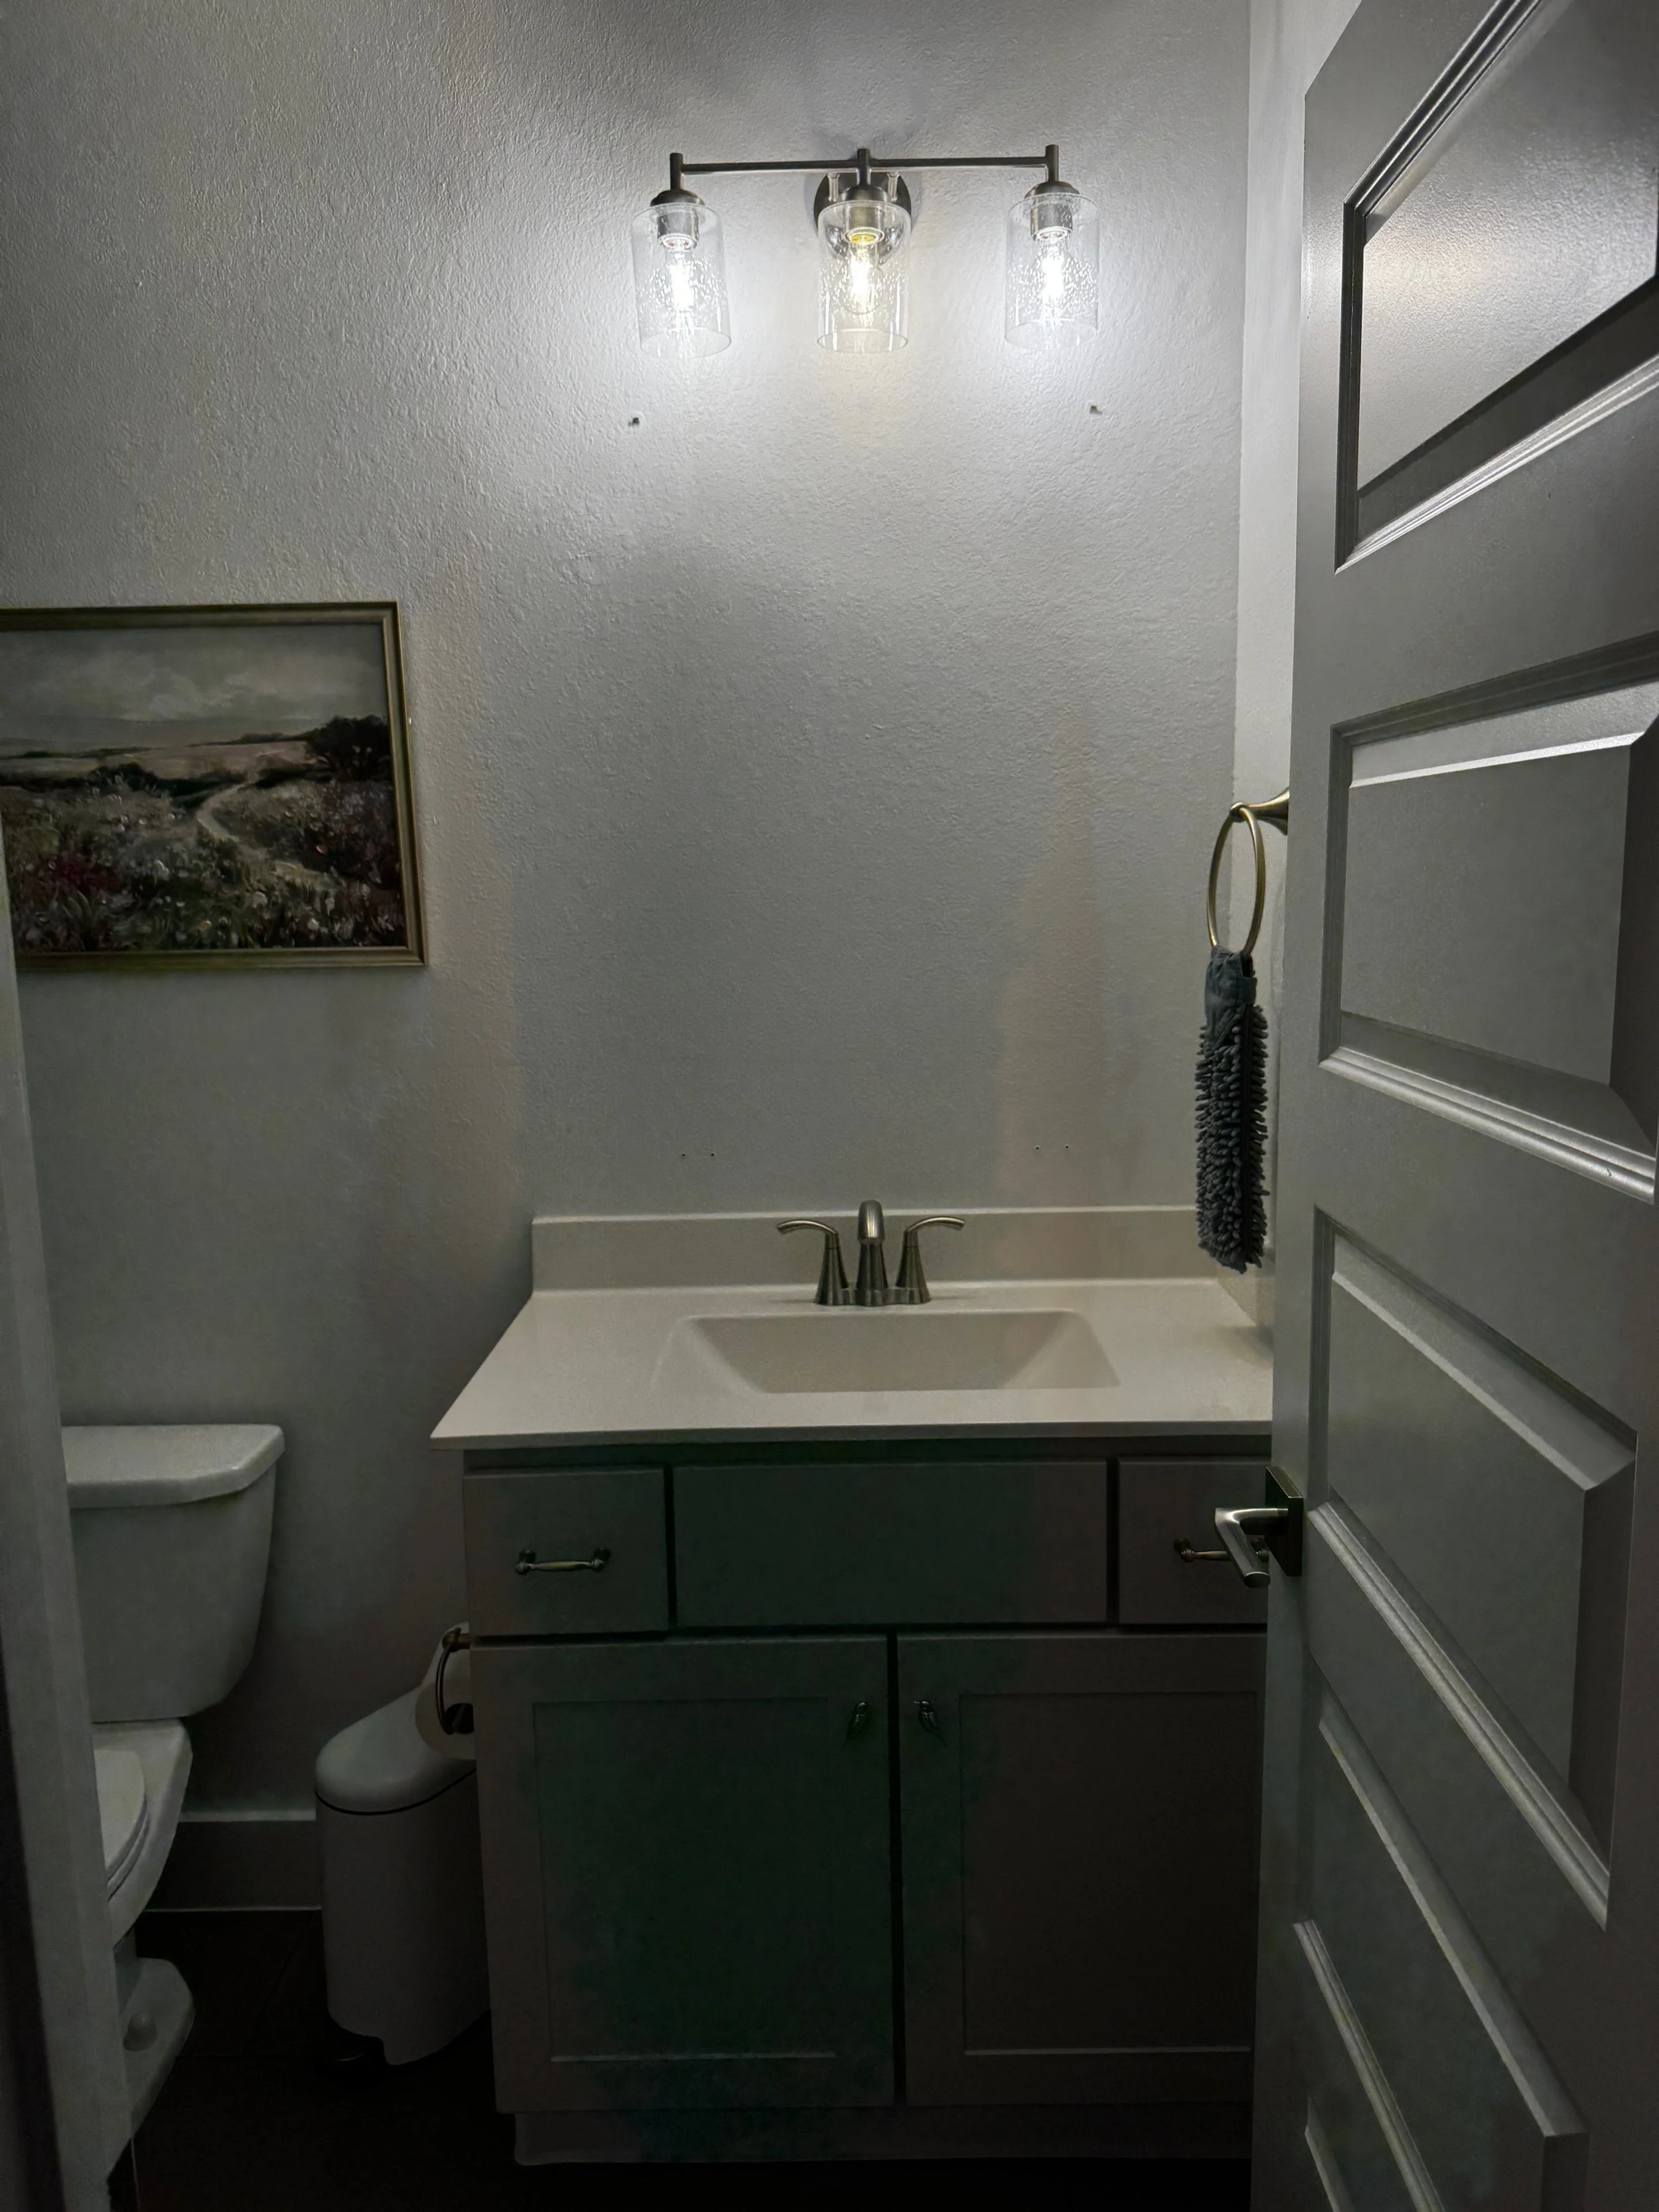
GUEST BATHROOM AFTER:
Yes, the sink faucet is still not centered but I’m not willing to spend money to replace a countertop for a vanity that I’d rather replace. I am going to let it be for now while I have no idea where my life is going. =)
Easy LTK shopping link: https://liketk.it/5yQjl


That completes the tour of my upstairs guest bathroom DIY makeover. You can find all of the new items using this LTK shopping link: https://liketk.it/5yQjl and it includes the custom Etsy shower curtain I originally had to fit that bathroom as well as had ordered a LONG one for two houses ago to custom fit a floor to ceiling shower curtain.
Have you attempted any DIY makeovers in your home? I am hesitant to use the term remodel as I didn’t tear anything out (yet). But, if you’ve remodeled recently I’d love to know how it went! Comment below. =)
Some of the links in this post are affiliate links and if you use them to make a purchase I will earn a small commission at no cost to you.
XOXO
